Get 1/4 cup butter out of the refrigerator and let it soften at room temperature.
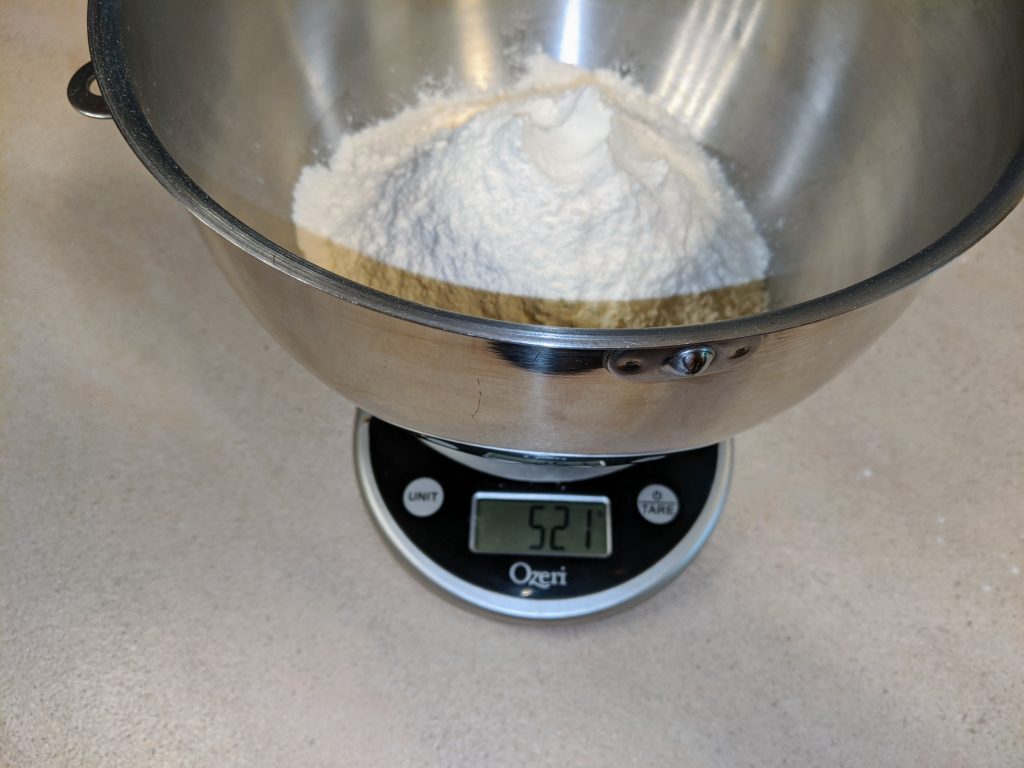
Measure or weigh (recommended) the all-purpose flour in the bowl of your stand mixer.
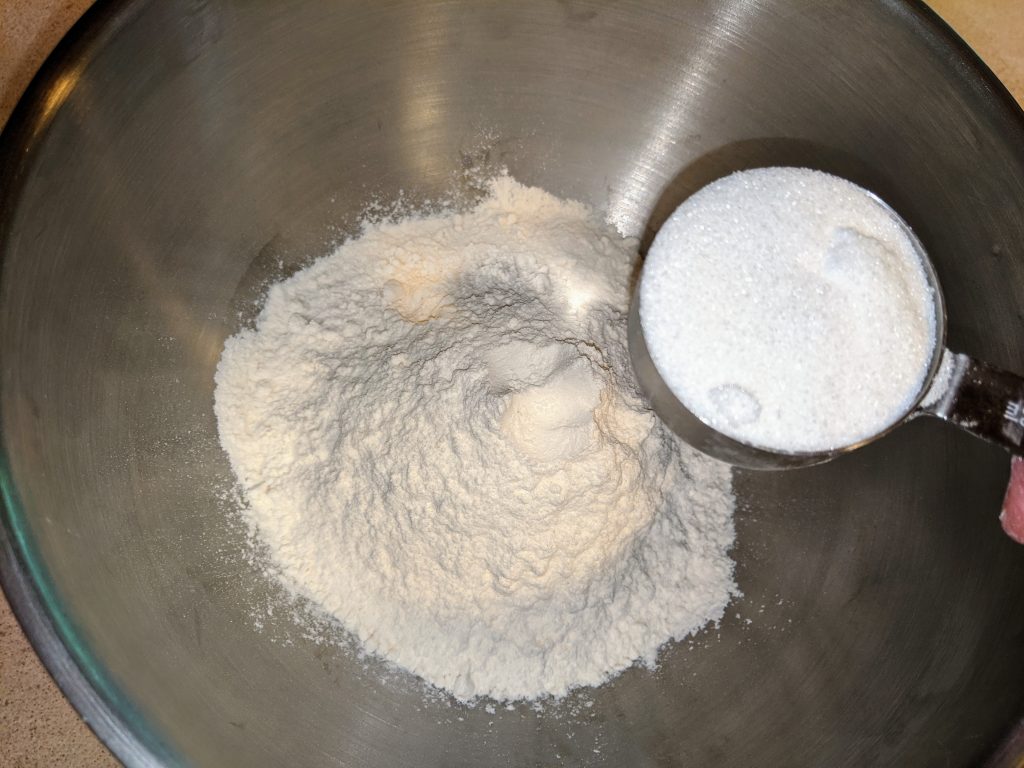
Add the granulated sugar.
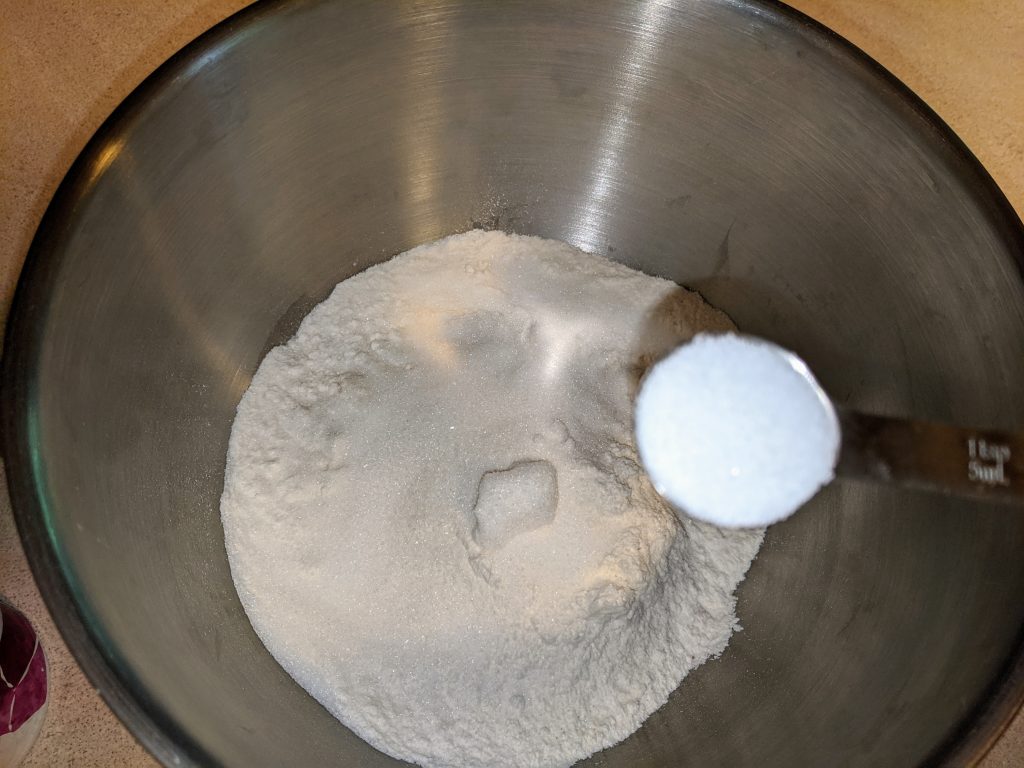
Add the salt.
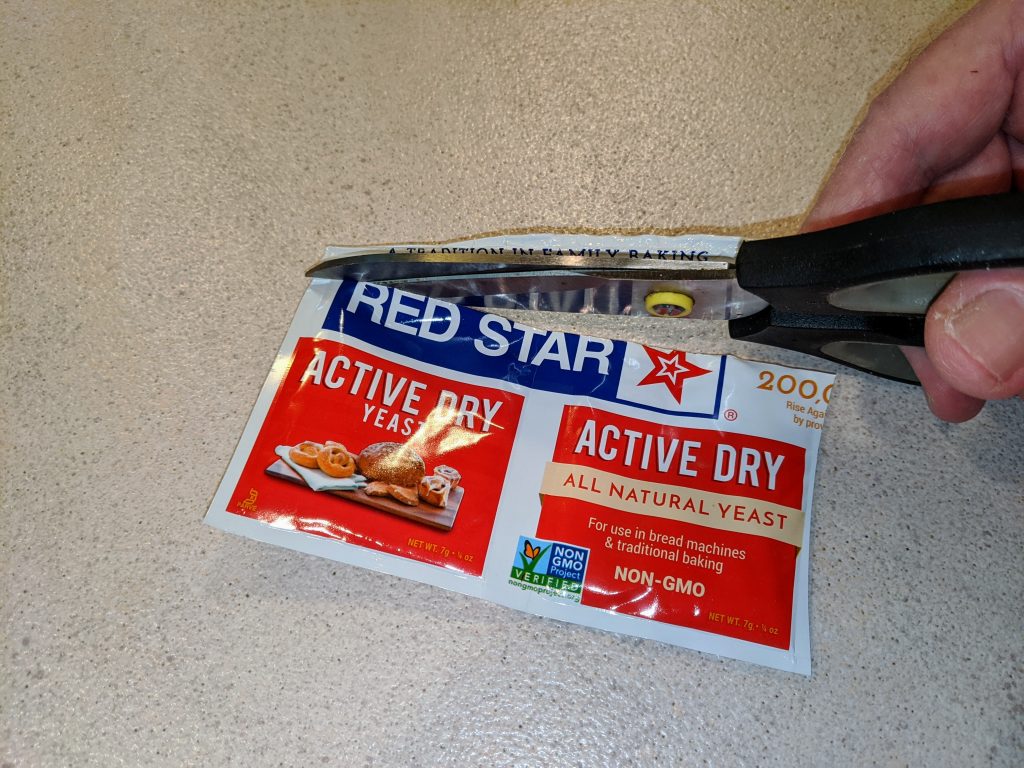
Add two packets (or 1 tablespoon) of active dry (or instant) yeast.
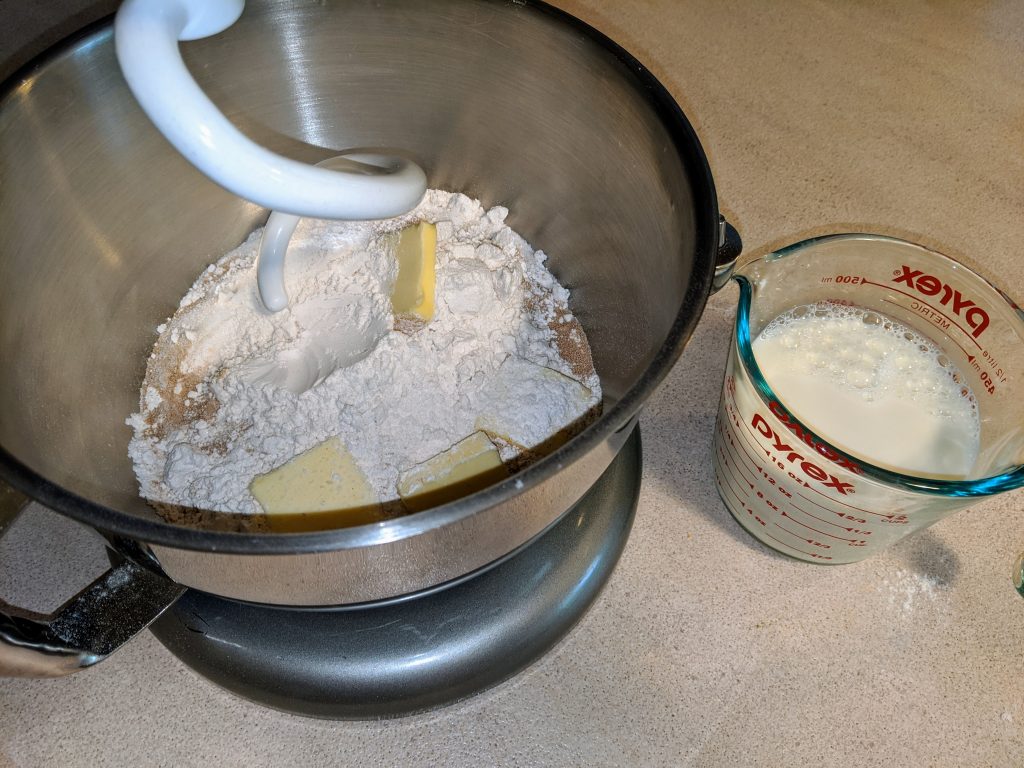
Cut the butter into chunks and add it to the bowl. Fit the dough hook attachment and run the mixer a minute or two on low speed to mix the dry ingredients and butter.
You can do the mixing with a heavy spoon and a little effort.
Run mixer for one minute until butter is combined.
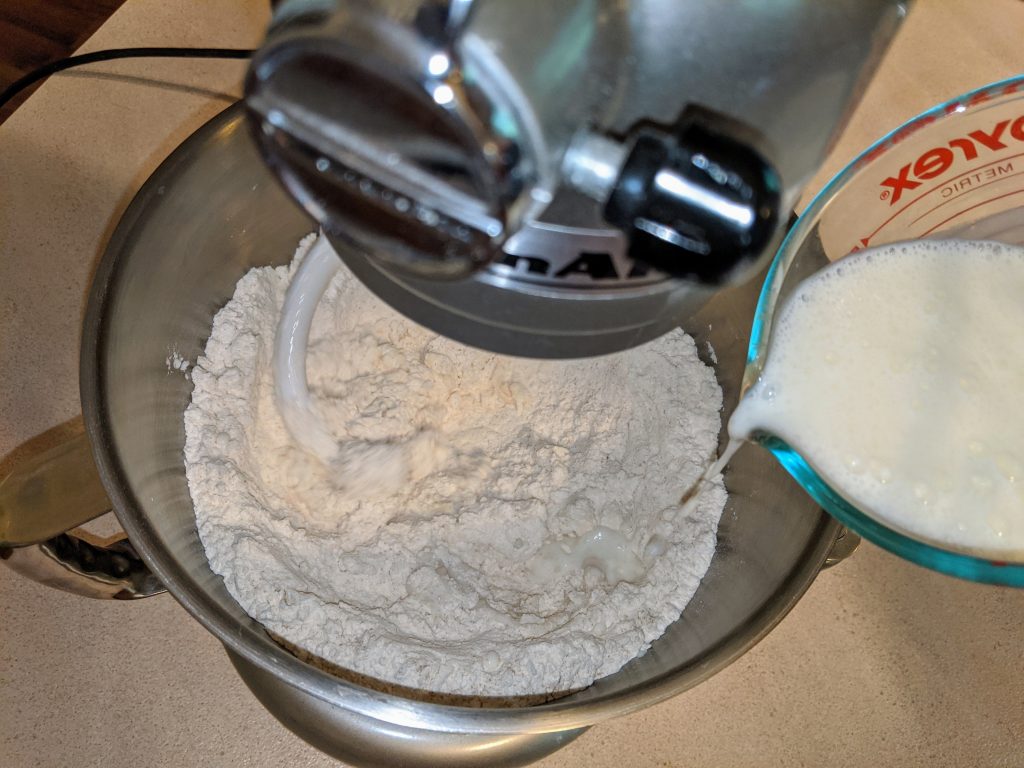
Keep the mixer running while you trickle in the buttermilk a little at a time.
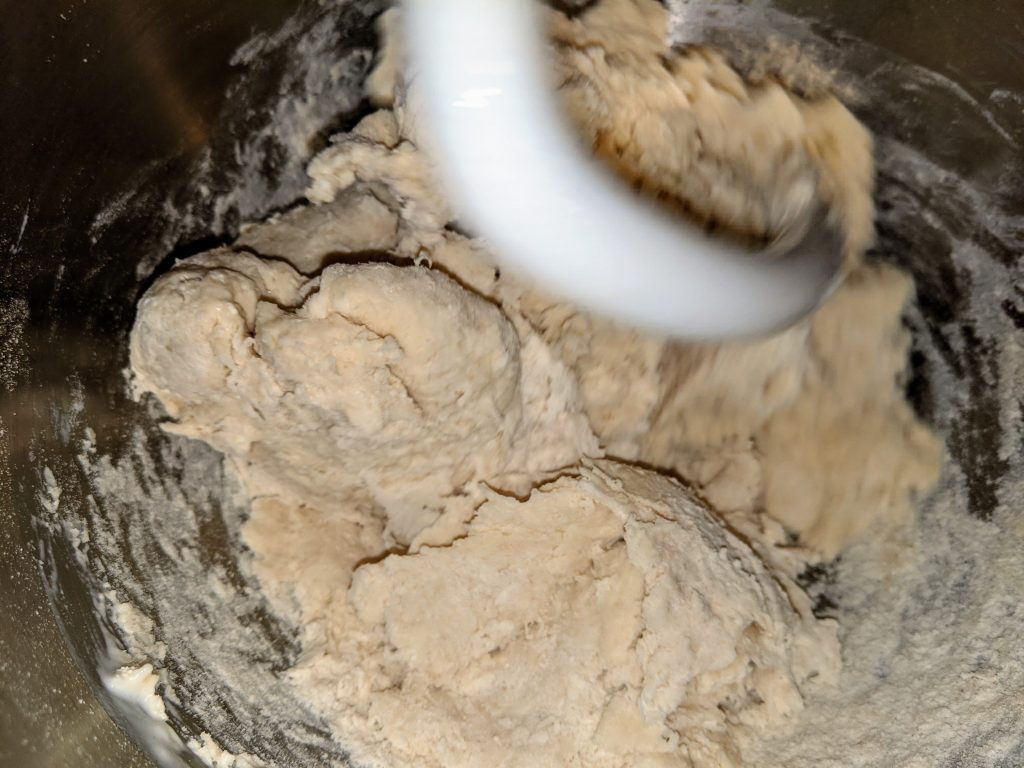
Keep mixing on low speed until a dough forms.
This dough will likely clean the sides and bottom of the mixer bowl for you. If not, stop the mixer and help it along a little with a flexible spatula.
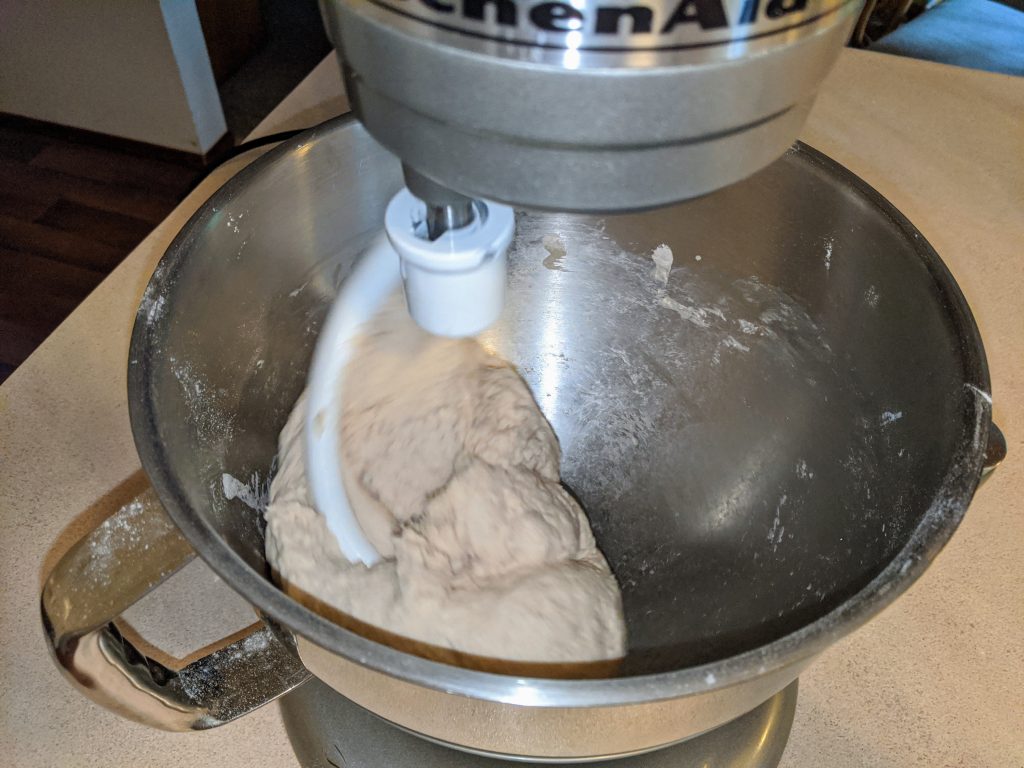
Turn the mixer up a few speeds and let it knead the dough until it cleans the bowl and feels bouncy when you poke it with your finger.
If you prefer, you can turn the dough out on a floured counter and knead it with floured hands.
Knead at least 5 minutes.
Lightly flour a piece of parchment paper or wax paper and place on a baking sheet.
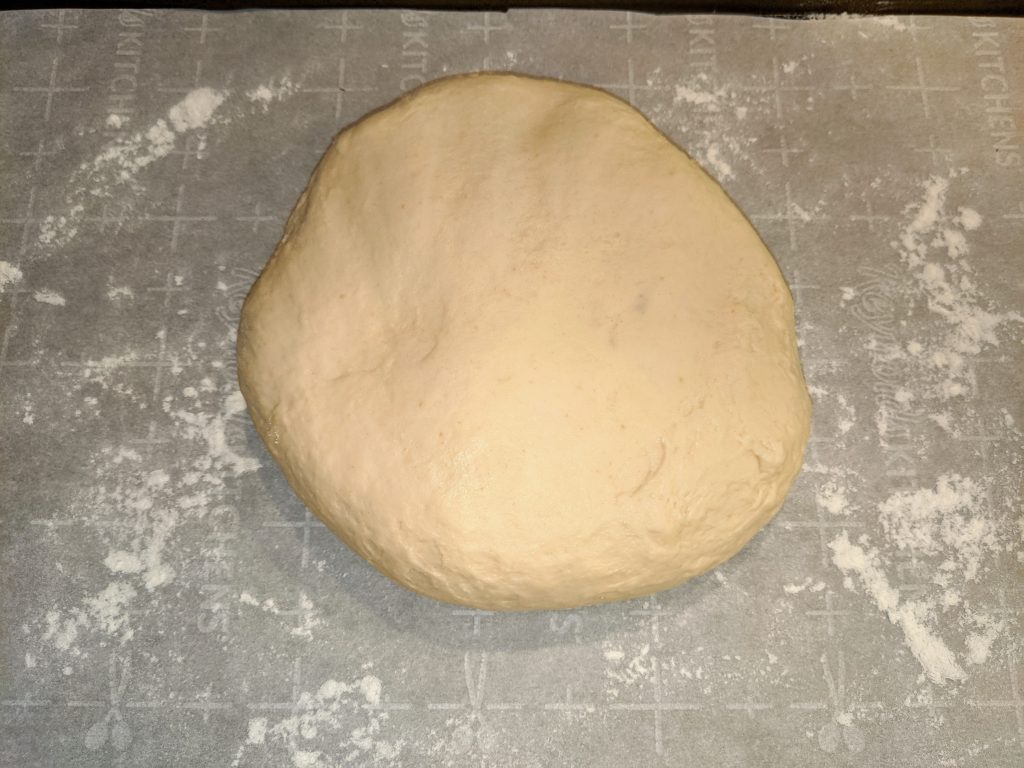
Turn the kneaded dough out onto the floured paper and shape it into a ball with floured hands.
To make a ball, hold the dough in one hand and use the other hand to stretch the top and tuck it under. Turn the ball as you repeat the motion until the entire top is smooth and stretched.
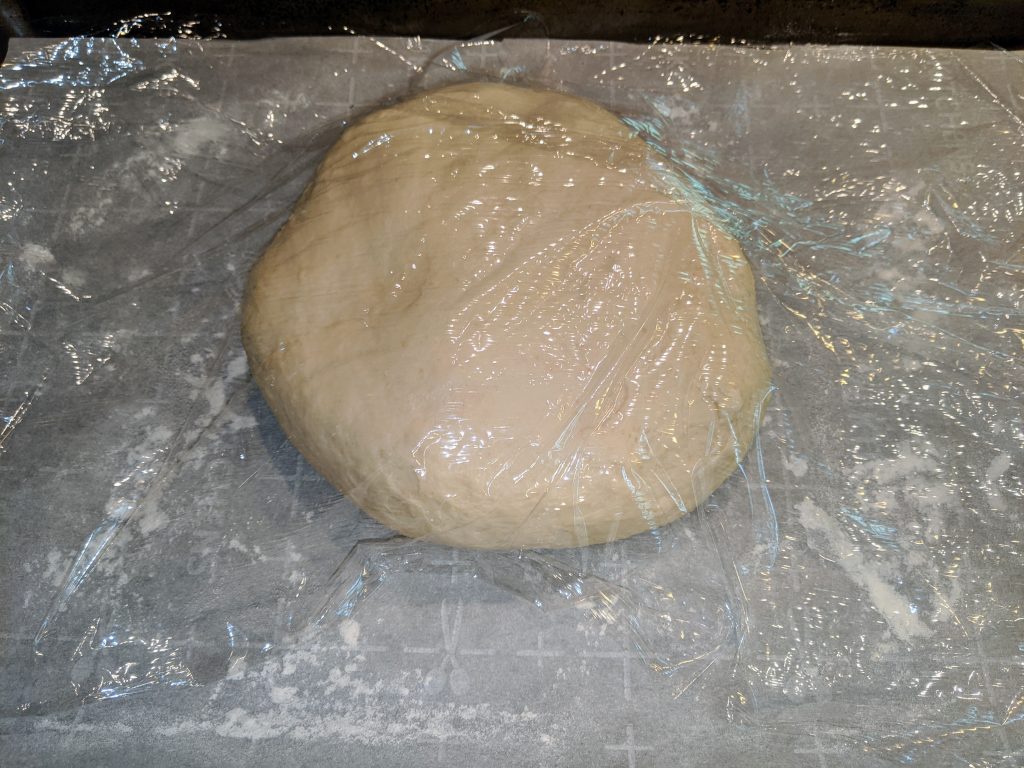
Cover the ball with plastic wrap and place into the refrigerator.
Chill the dough in the refrigerator for 30 minutes.
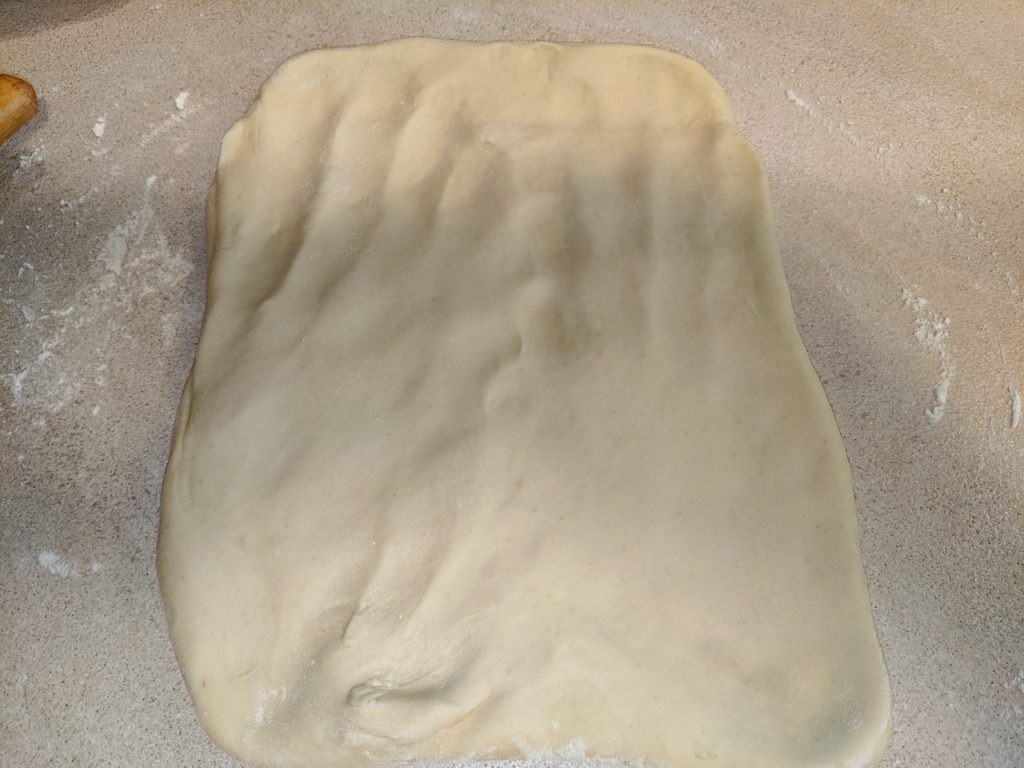
Put the chilled dough on a floured counter or a piece of parchment paper (better) and shape it into a rectangle with your hands.
If you have a silicone baking mat, it’s even better for these steps, but parchment works just fine.
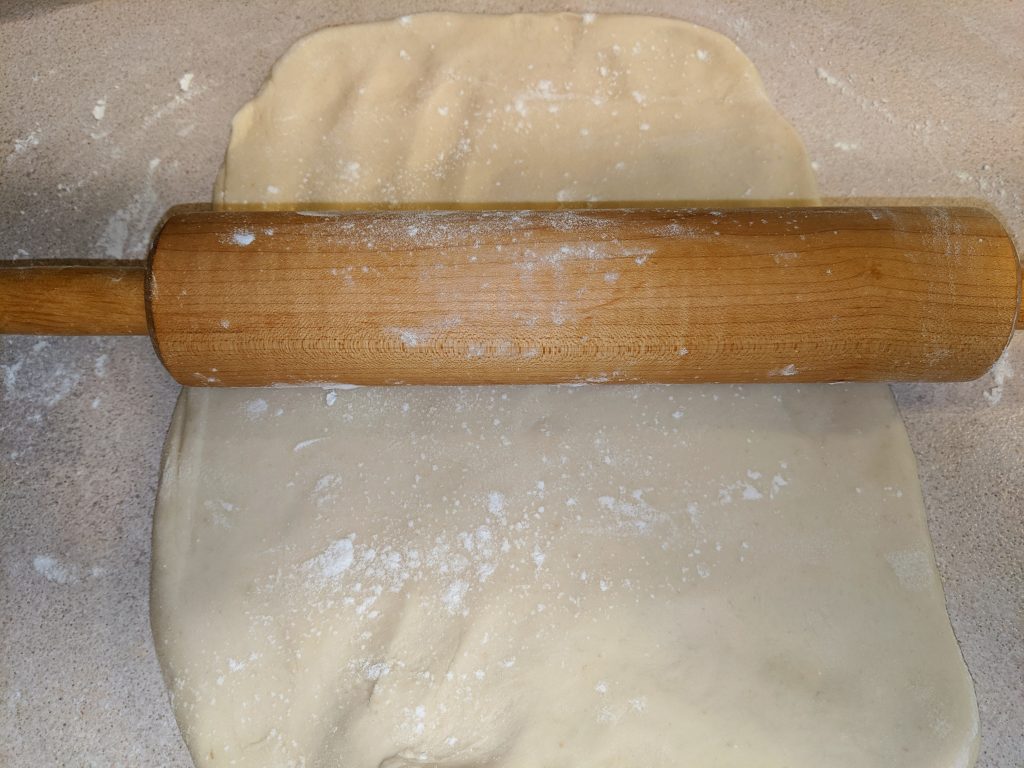
Alternating between shaping the sides and corners with your fingers and rolling with the floured rolling pin, shape the dough into smooth rectangle.
Roll from the center, toward you and away from you. It might take some effort.
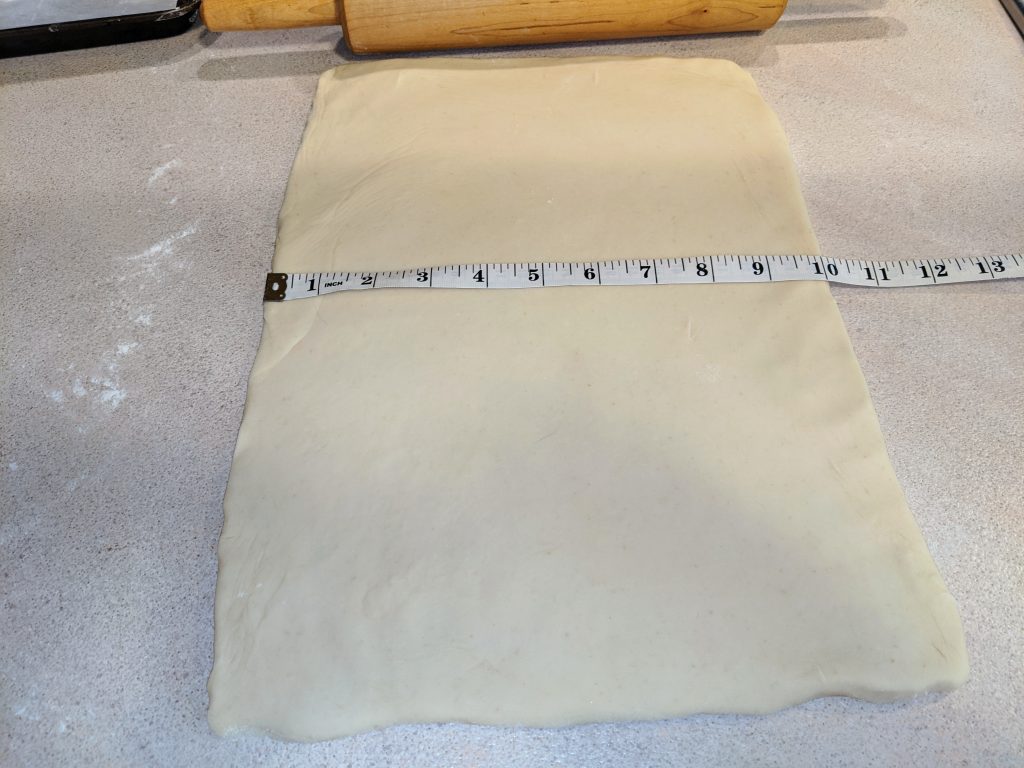
Measure the dough and shape the corners until you have a 14×10 inch rectangle of even thickness (about a quarter of an inch.)
This measurement has to be accurate so the butter layer will fit exactly.
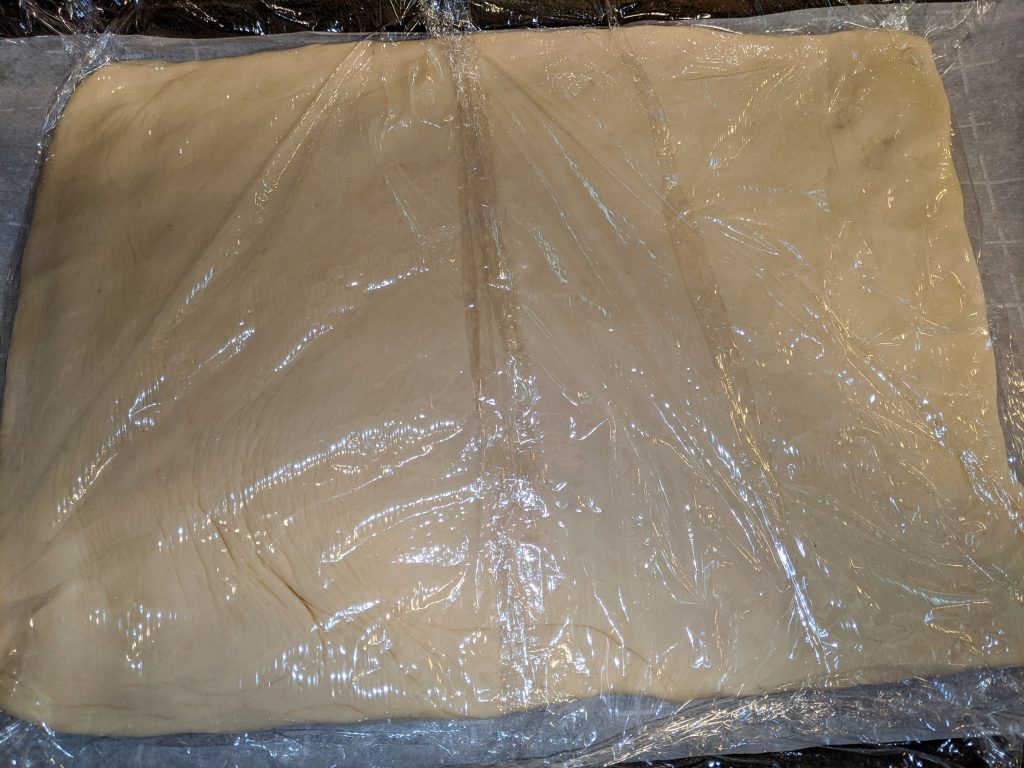
Place the rectangle of dough on a baking sheet, cover thoroughly with plastic wrap so the edges don’t dry out, and chill in the refrigerator.
Chill at least 4 hours or overnight.
Get three sticks of butter out of the refrigerator and let them soften at room temperature.
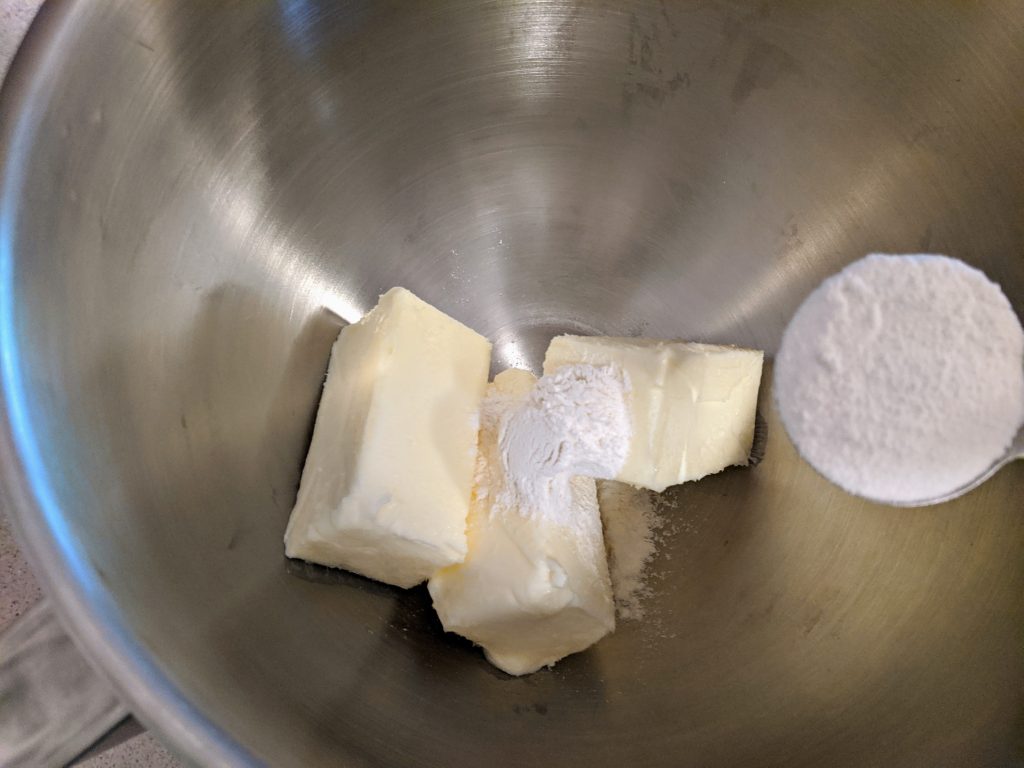
Put the softened butter in the bowl of your stand mixer and add the flour.
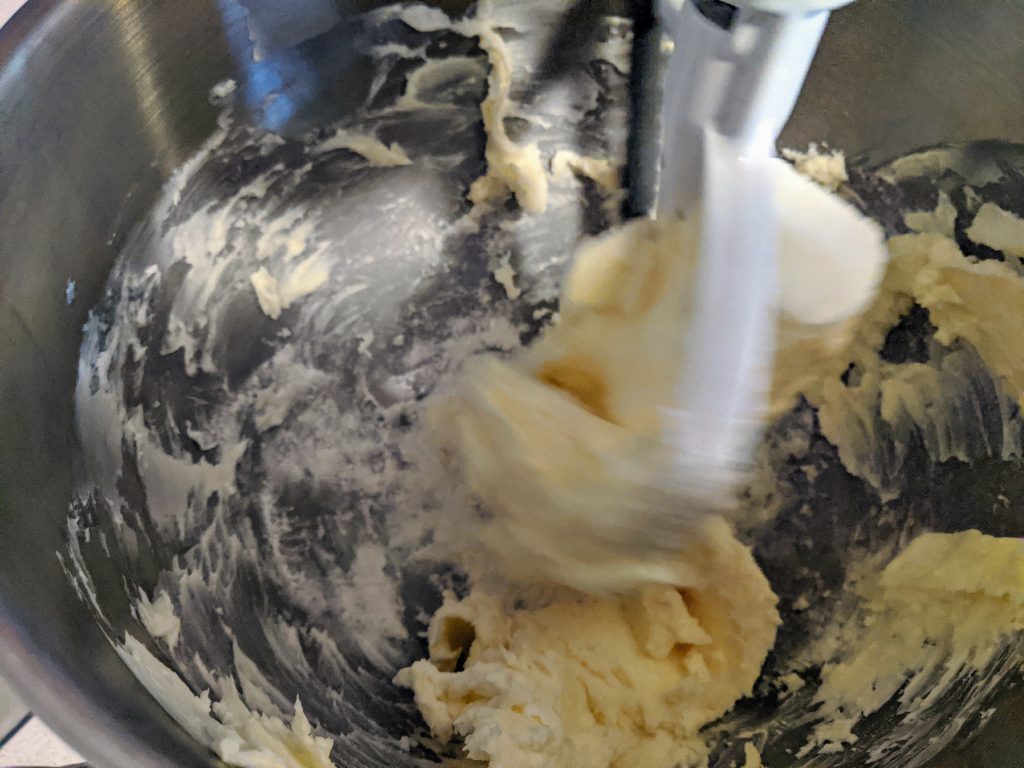
With the paddle attachment, beat the butter and flour together. Crank up the speed a little to clear the butter out of the paddle.
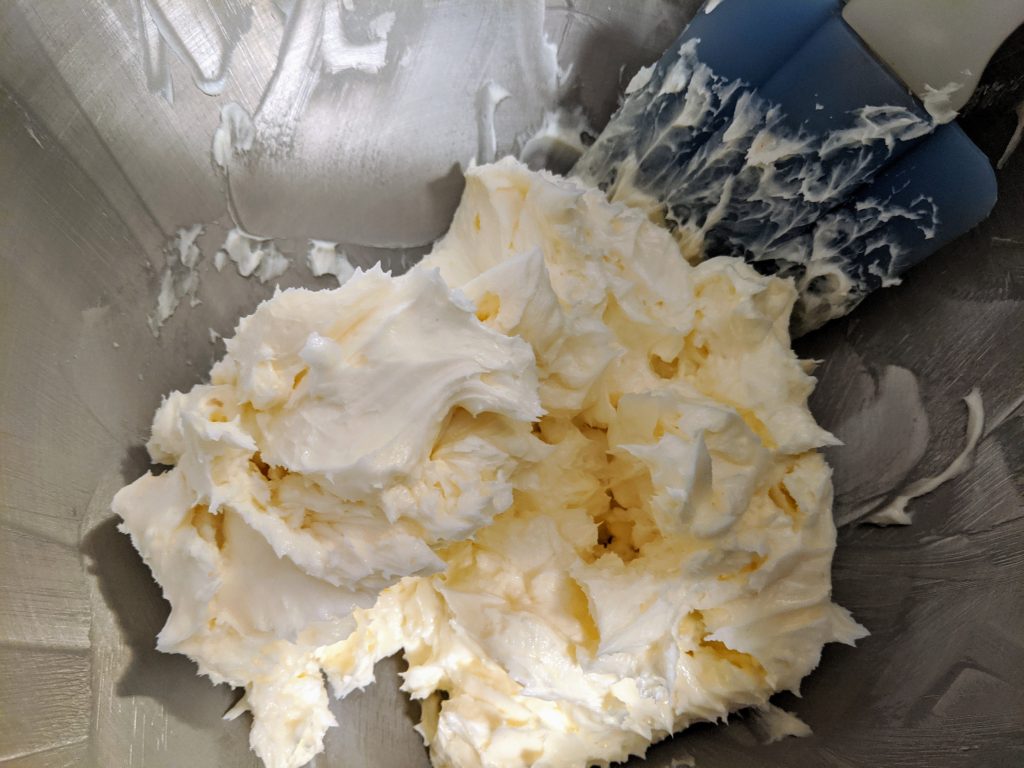
Beat until the butter and flour are smooth. Use a spatula to scrape the sides of the mixer bowl.
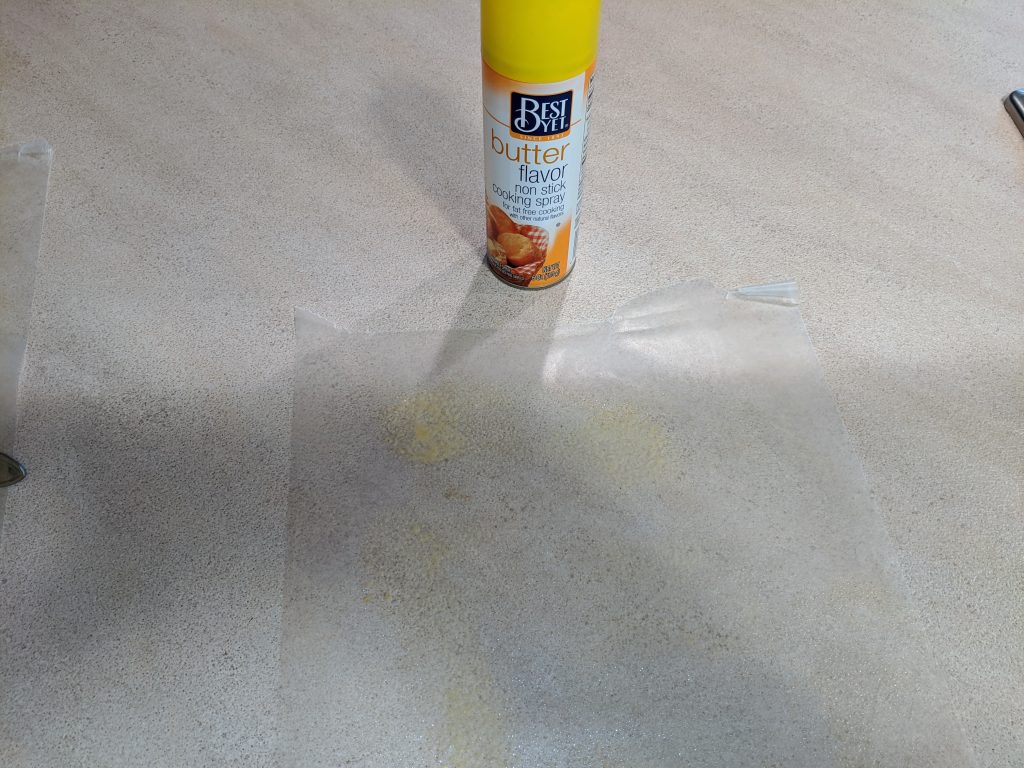
Spray a piece of wax paper or parchment very lightly with cooking oil spray.
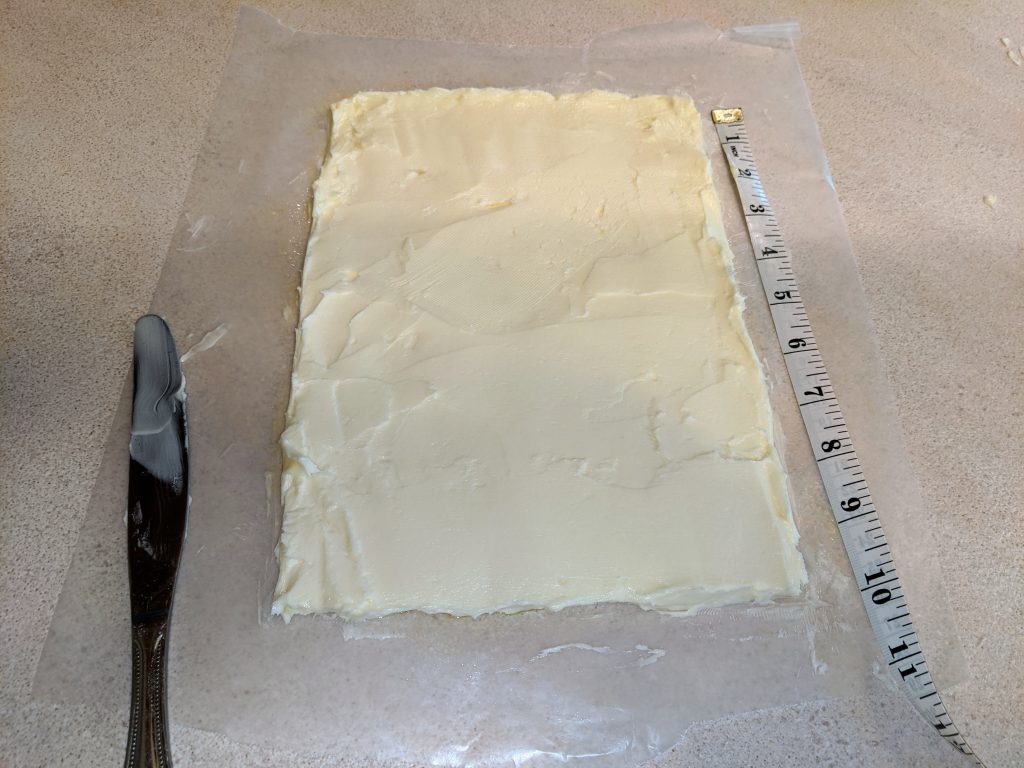
Dump the butter mixture on the wax paper and experiment with a table knife, spatula, or spoon to spread and smooth it into a 7×10 inch rectangle about 1/4 inch thick.
This measurement has to be accurate so the butter layer will fit the dough layer exactly.
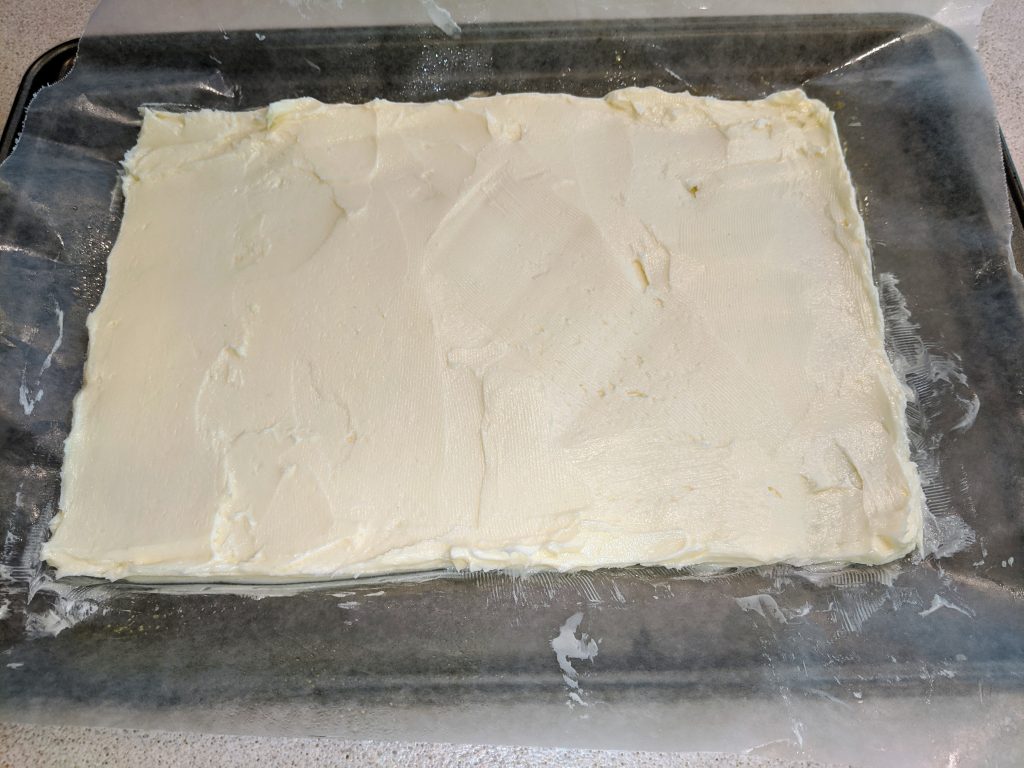
Chill the butter on a cookie sheet in the refrigerator.
Chill butter 30 minutes.
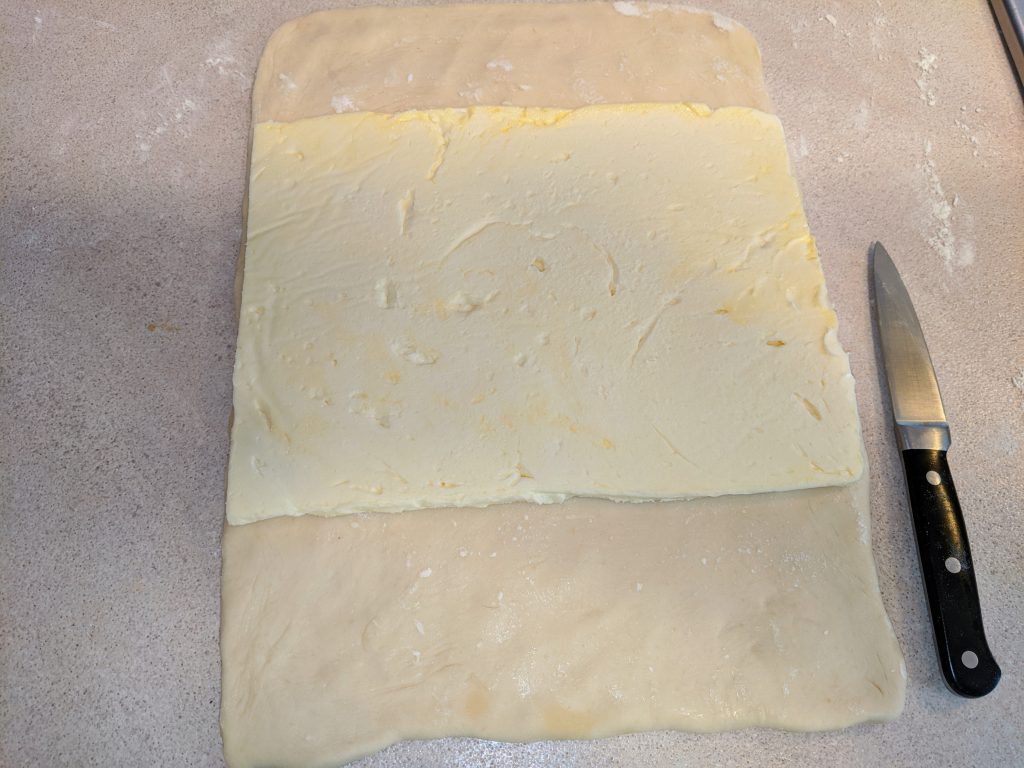
Get both layers out of the refrigerator, and place the butter layer exactly centered over the dough layer. Trim the edges of the butter with a sharp knife if it doesn’t exactly fit.
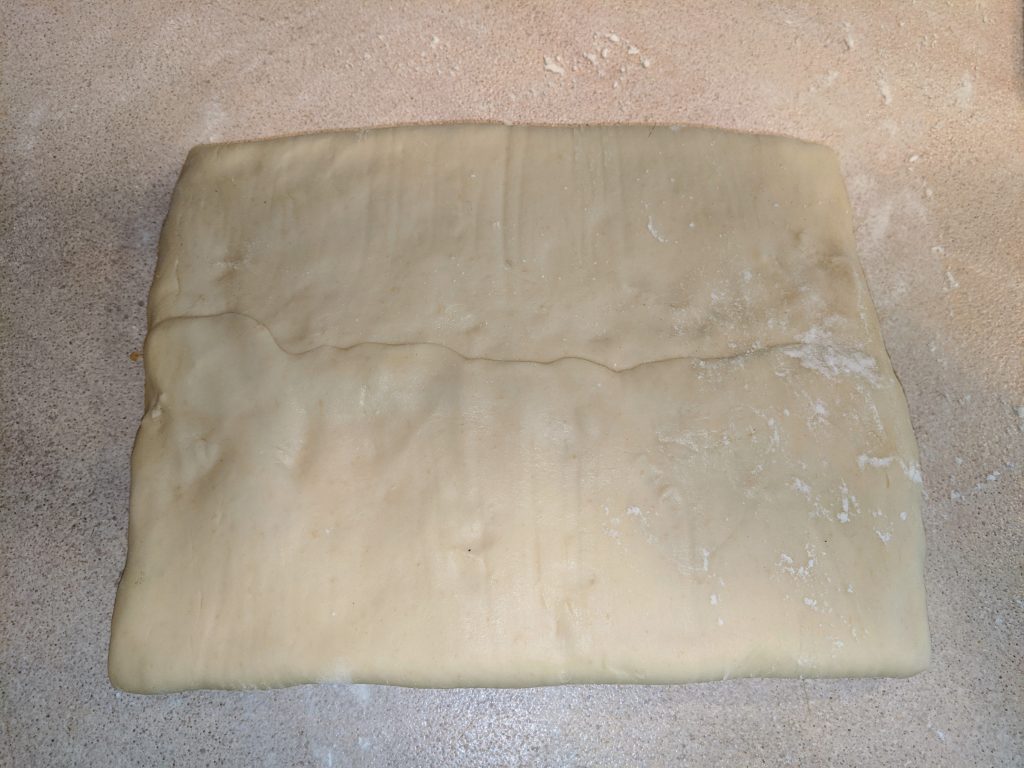
Fold the two dough flaps over the butter, stretching them a little so they just overlap, and seal the seam and the sides with your fingers.
There are now 3 layers.
The next three steps (rolling, folding, and chilling) will be executed three times.
The dough must be cold.
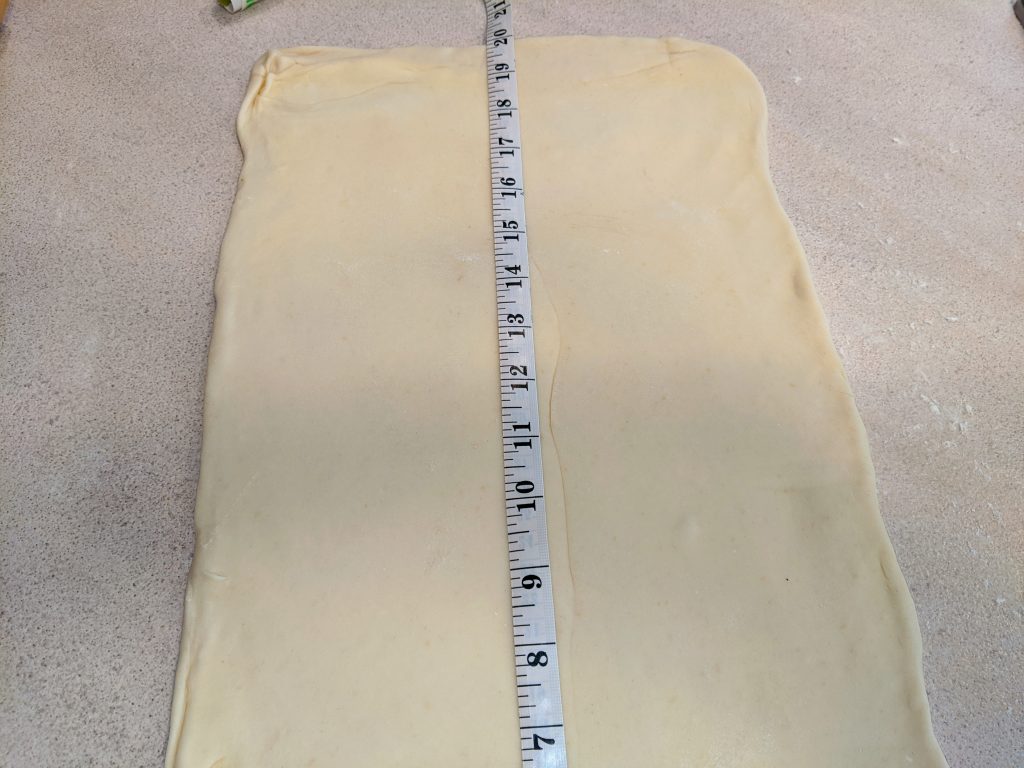
Three times, step one, roll: Turn the dough 90° so the narrow side is toward you.
Roll the layered dough carefully out into a 10×20 inch rectangle. Alternate between shaping with your fingers and rolling.
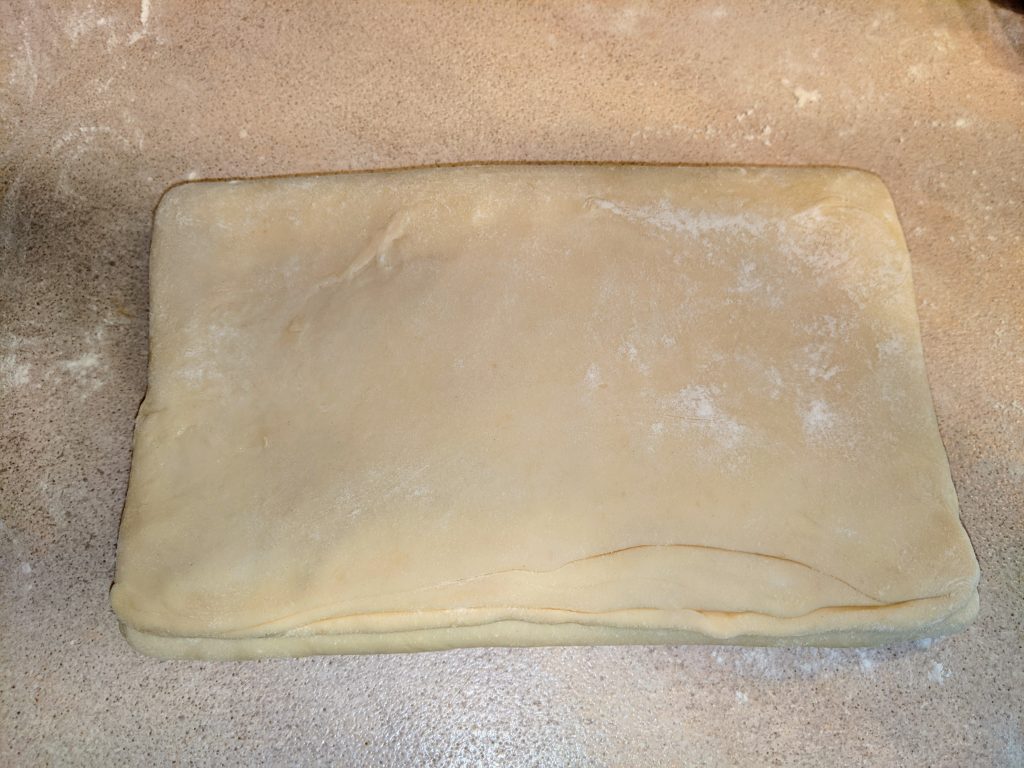
Three times, step two, fold: Mark the dough every 6-2/3″ and fold it into thirds.
How the layers multiply:
First folding: 9 layers
Second folding: 27 layers
Third folding: 81 layers
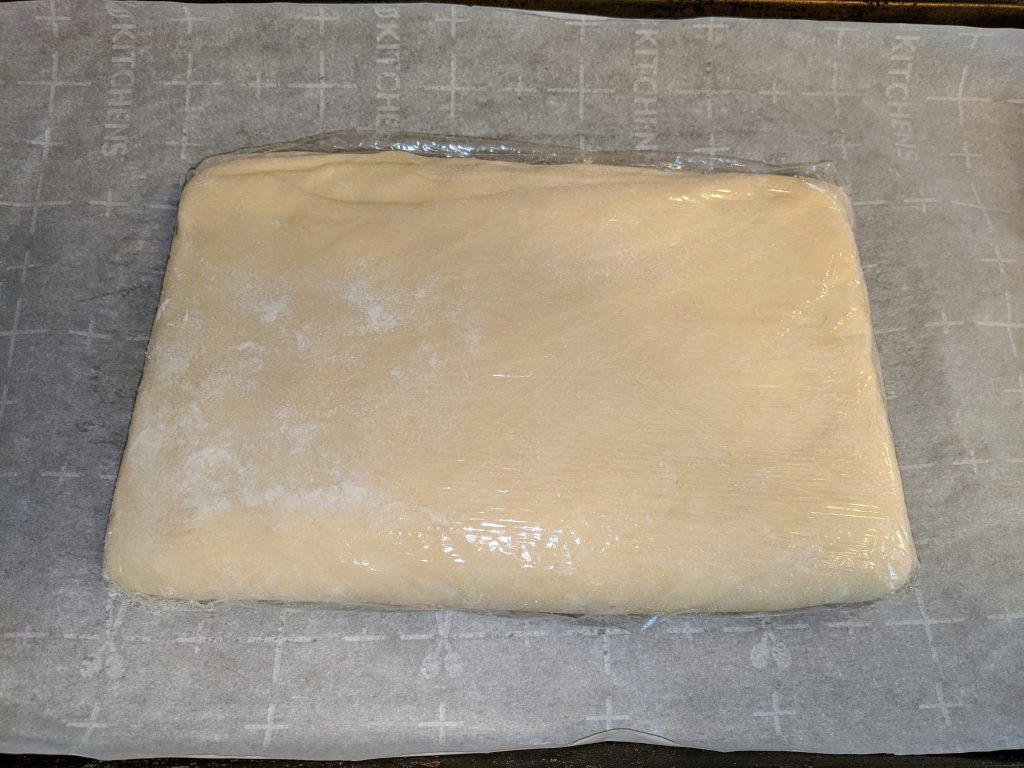
Three times, step three, chill: Place the dough on a baking sheet and cover thoroughly with plastic wrap so the edges don’t dry out.
| First time | Refrigerate 10 minutes or until dough is cold. |
| Second time | Refrigerate 20 minutes or until dough is cold. |
| Third time | Refrigerate at least 4 hours, maybe overnight, and up to 24 hours. |
After three rollings, foldings, and chillings, proceed with the next step.
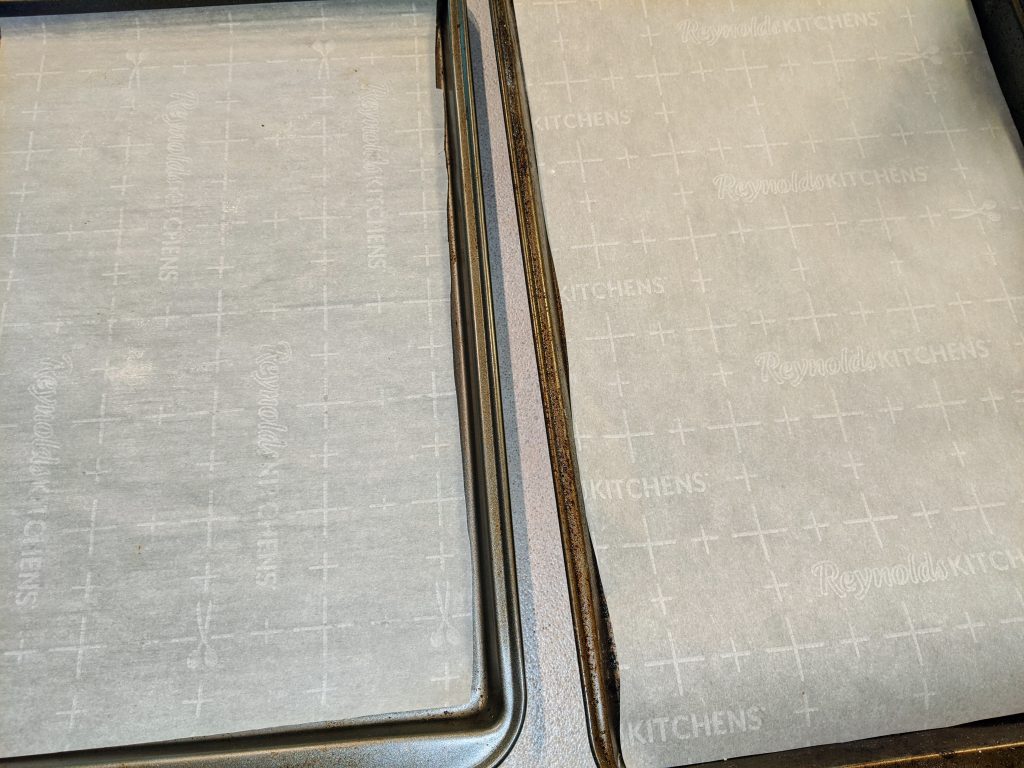
Line two baking sheets with parchment paper.
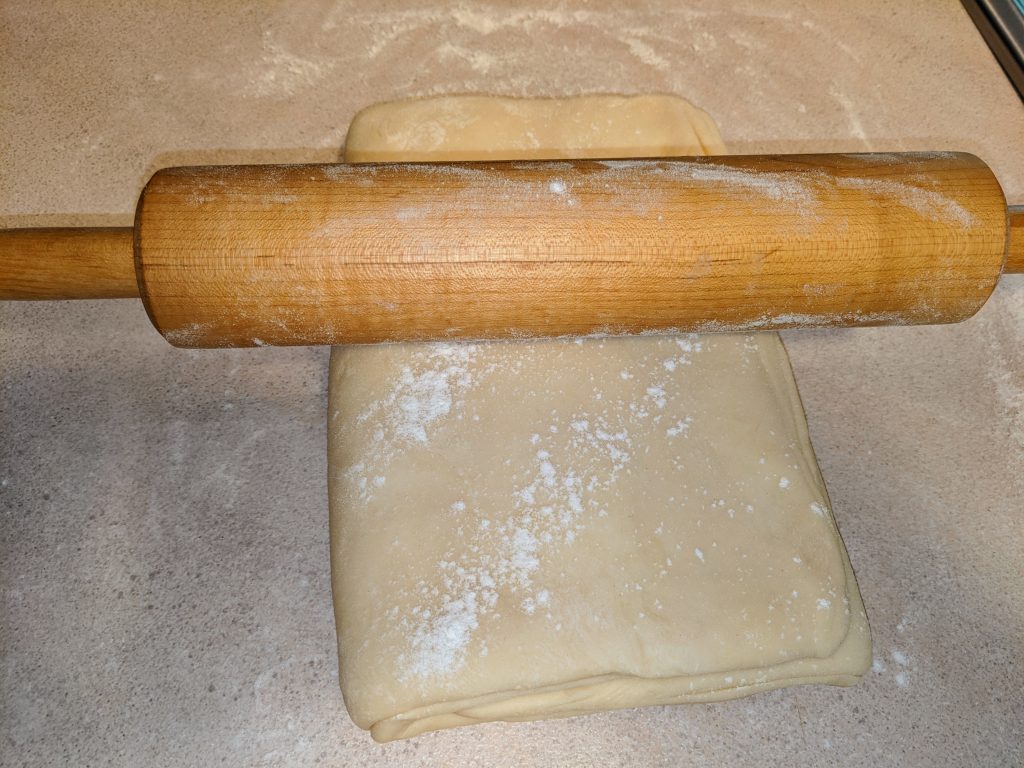
Place the chilled dough on a floured counter and roll with a floured rolling pin.
The dough will be cold, so you will have to push hard to get it to roll out. Be careful not to damage the layers.
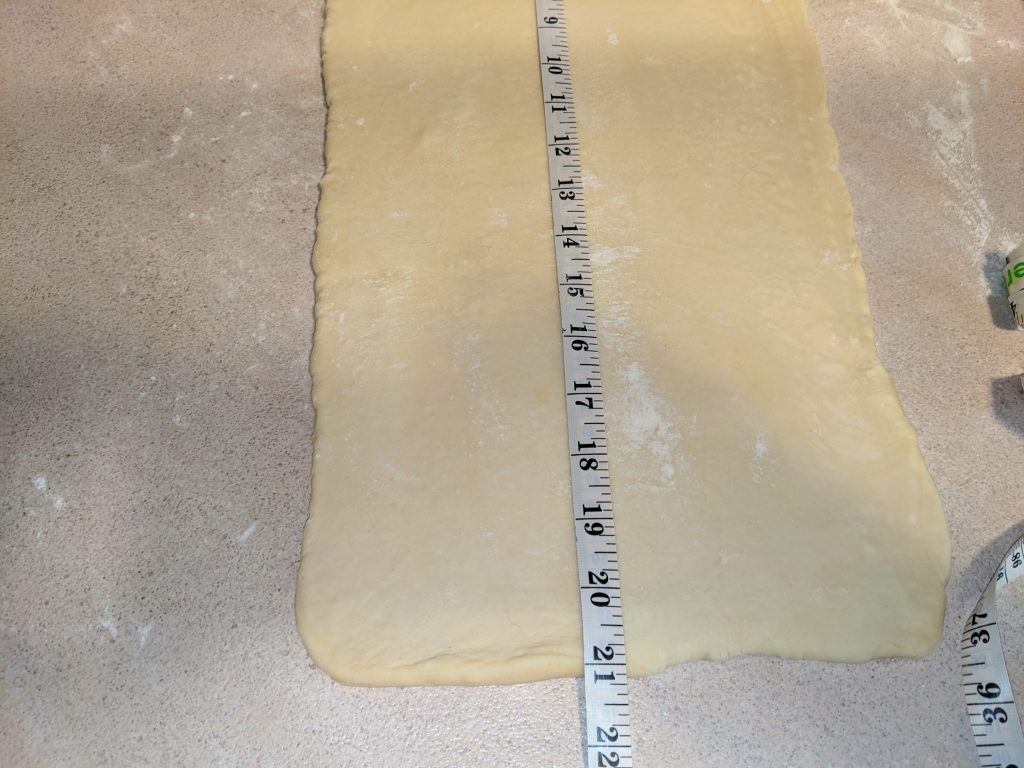
Roll out to approximately 10×21 inches. The width doesn’t have to be exact.
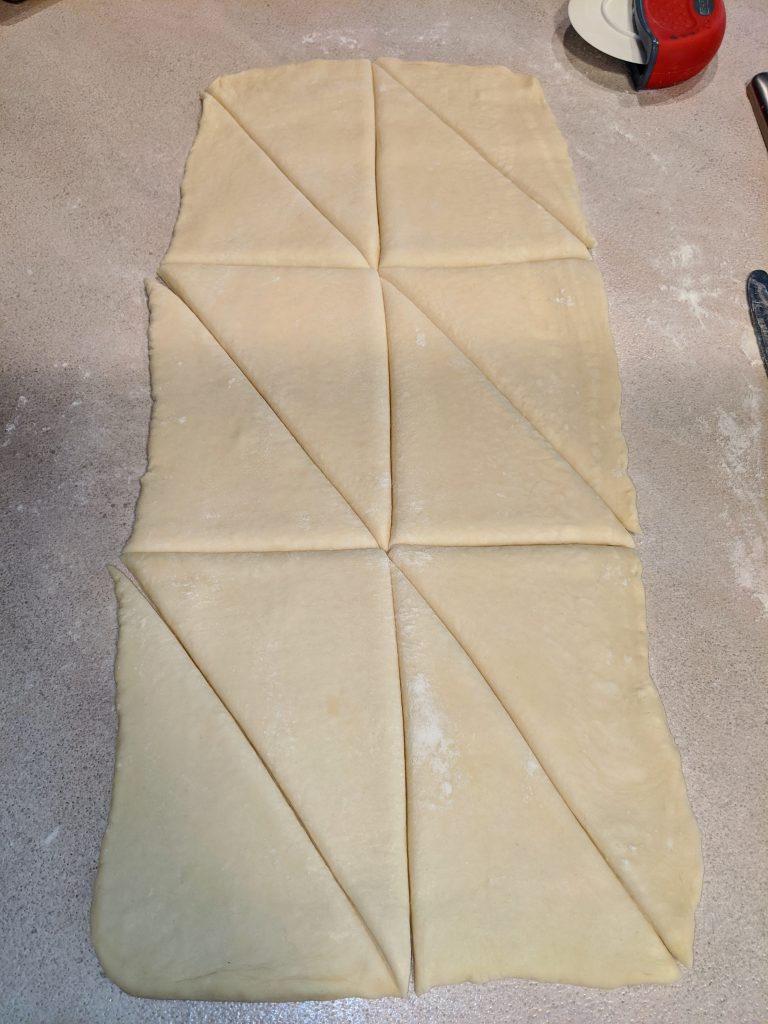
For a dozen large croissants: Use a pastry cutter (shown), a pizza cutter, or a sharp knife to cut the dough in half lengthwise and into three 7″ sections. Cut each rectangle diagonally into two triangles.
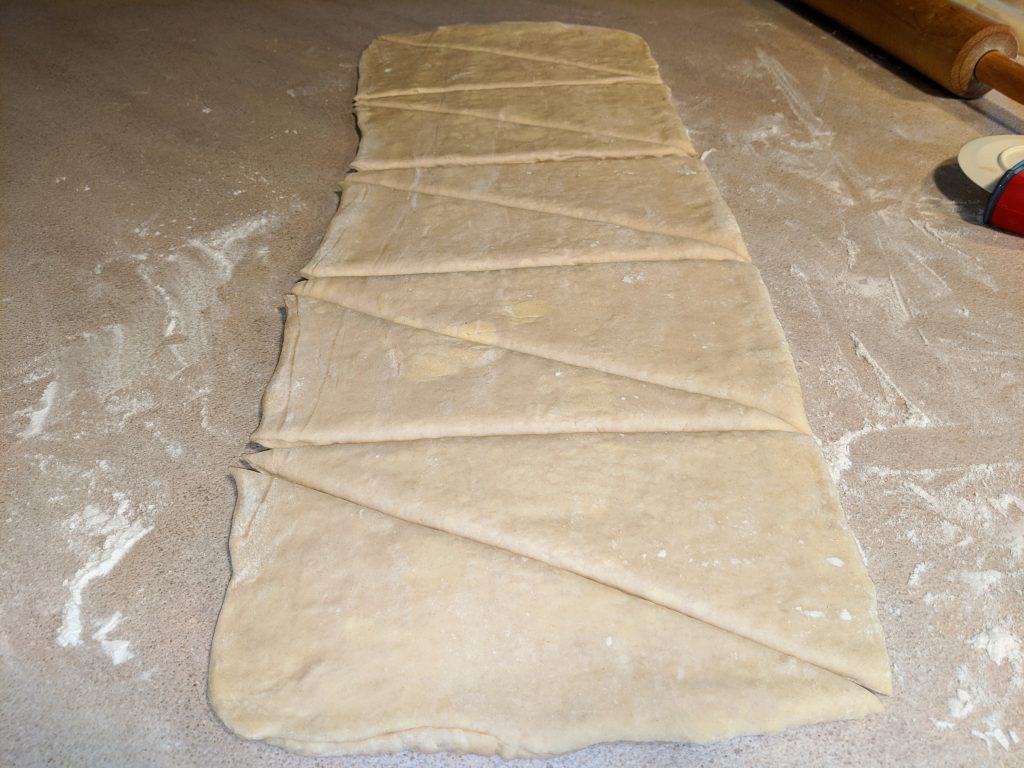
Here’s a way to make 10 larger sandwich-sized croissants. Here, the dough was rolled out to 8×25 inches and cut into 5″ sections.
If you want 16 smaller breakfast-sized croissants, roll the dough out to 8×20 inches, cut in half lengthwise and into four 5″ sections.
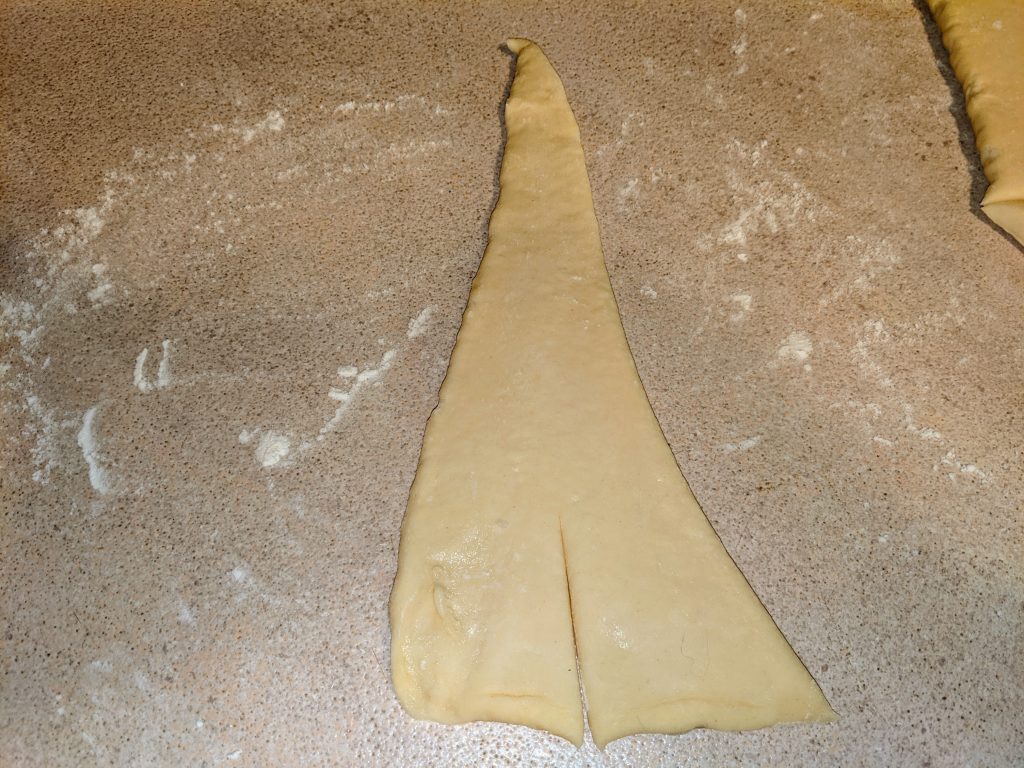
Stretch each triangle about 50% with your fingers, being careful not to damage the layers. Cut a little notch an inch or two long in the middle of the bottom.
I cheated and pressed it out lightly with the rolling pin.
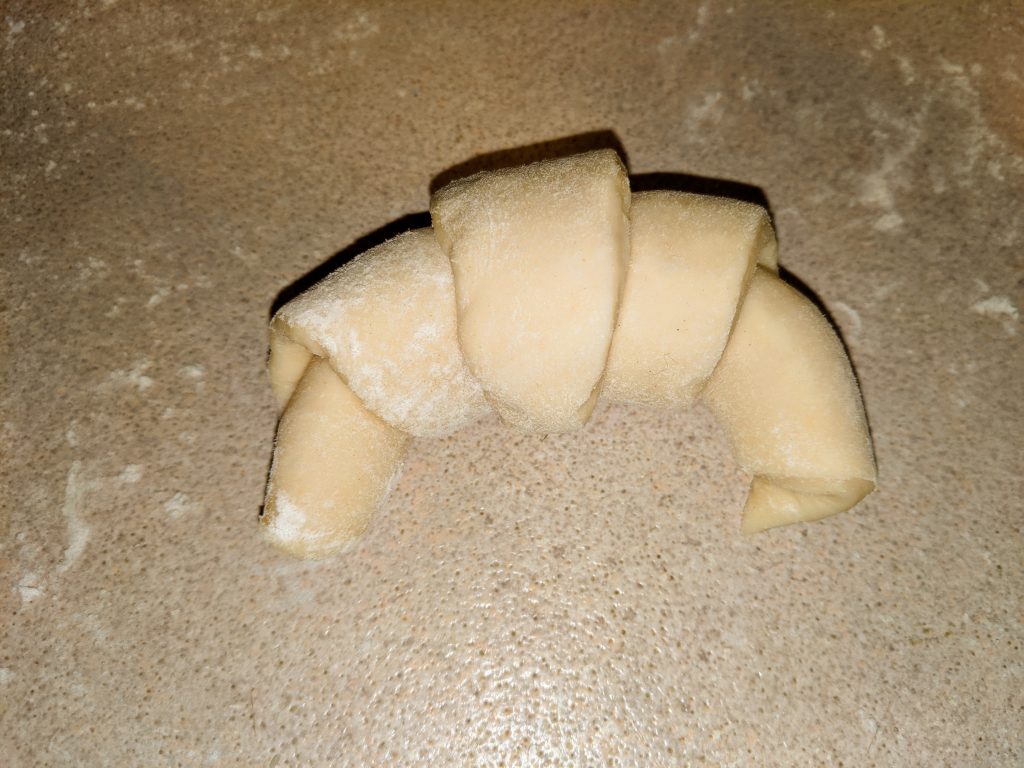
Roll each triangle from the bottom, spreading the bottom out just a little, and finish with the tip underneath. Bend it slightly into a crescent shape.
Now there are hundreds of layers!
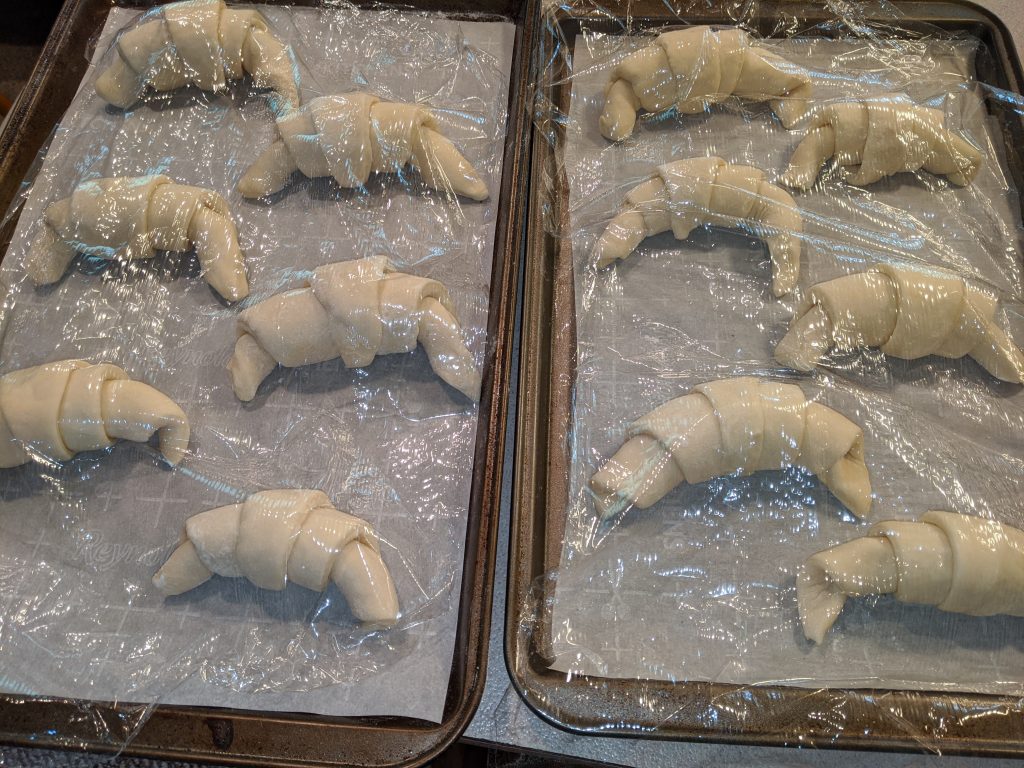
Place the rolled croissants on the two lined baking sheets, and cover loosely with plastic wrap. Leave them out on the counter for one hour and then place into the refrigerator
Rest one hour at room temperature, and then chill for at least one hour or up to overnight.
Preheat oven to 400° F with the rack in the center.
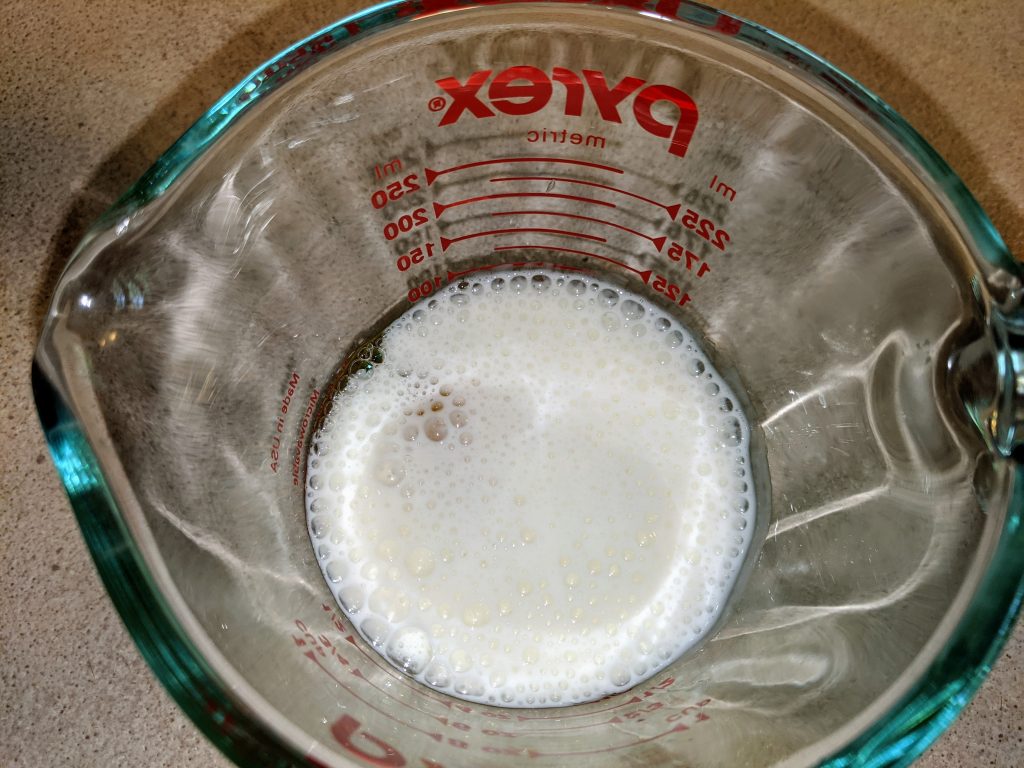
Crack an egg into a cup or small bowl and add a couple of tablespoons of buttermilk.
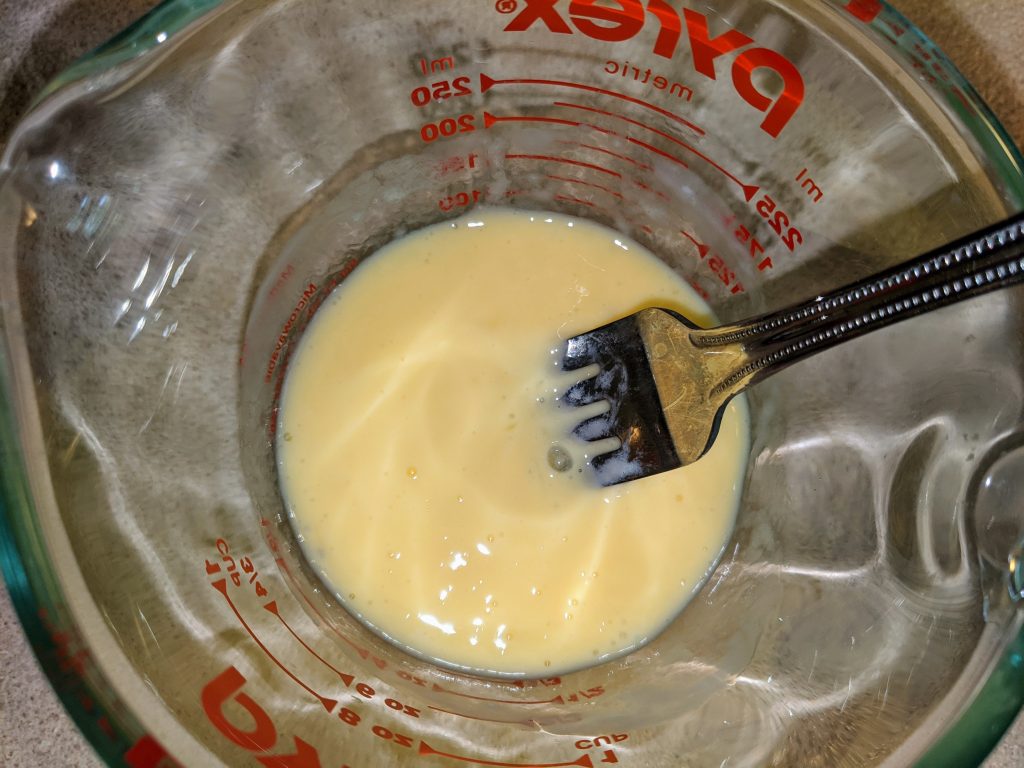
Beat the egg mixture with a dinner fork or whisk until smooth.
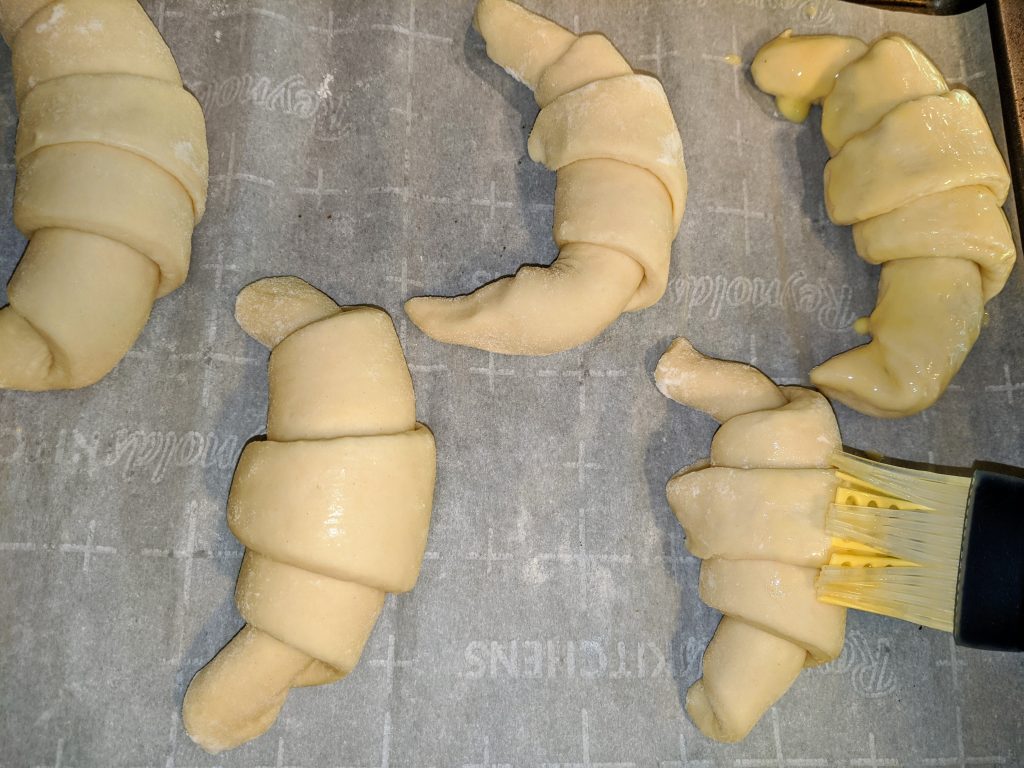
Brush each rolled croissant with a light coat of the egg wash mixture.
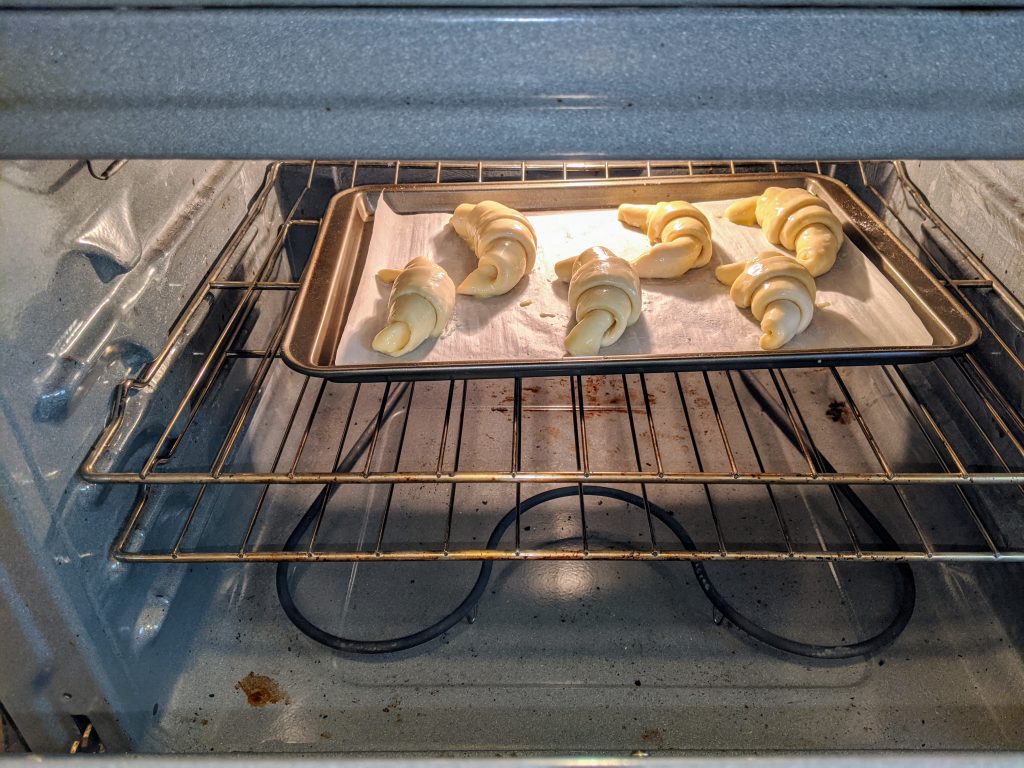
Place the sheet(s) of croissants in the oven.
With my oven, they’re best done one sheet at a time, but yours can likely do both.
Bake 10 minutes.

After 10 minutes, turn the pan so all the croissants get done evenly.
With my oven, the outsides were already getting too brown…
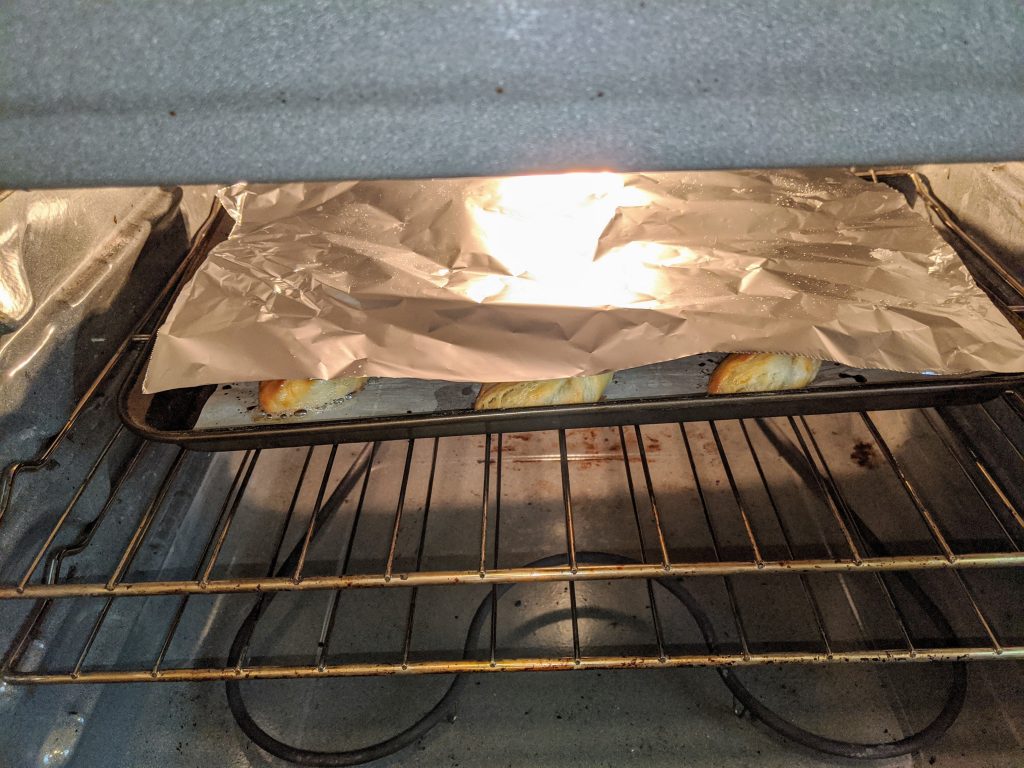
… So for my oven, after the first 10 minutes, I turned it down to 375° F and loosely covered the croissants with foil. You’ll have to see how it turns out with your oven.
Bake approximately 10 more minutes.

If needed, add time in increments of two minutes so the oven stays hot. With my oven, it took an extra two minutes.
Take the croissants out of the oven when golden brown. As soon as they’re cool enough to touch, transfer to a wire rack.
Cool at least a few minutes on the wire rack and eat warm!